Changing your Vehicle’s Engine Oil at Home
November 21, 2022
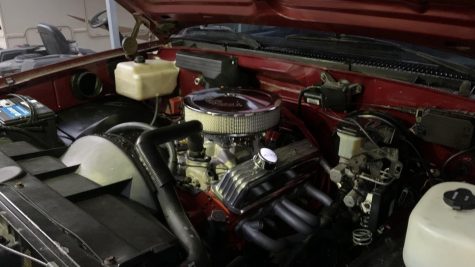
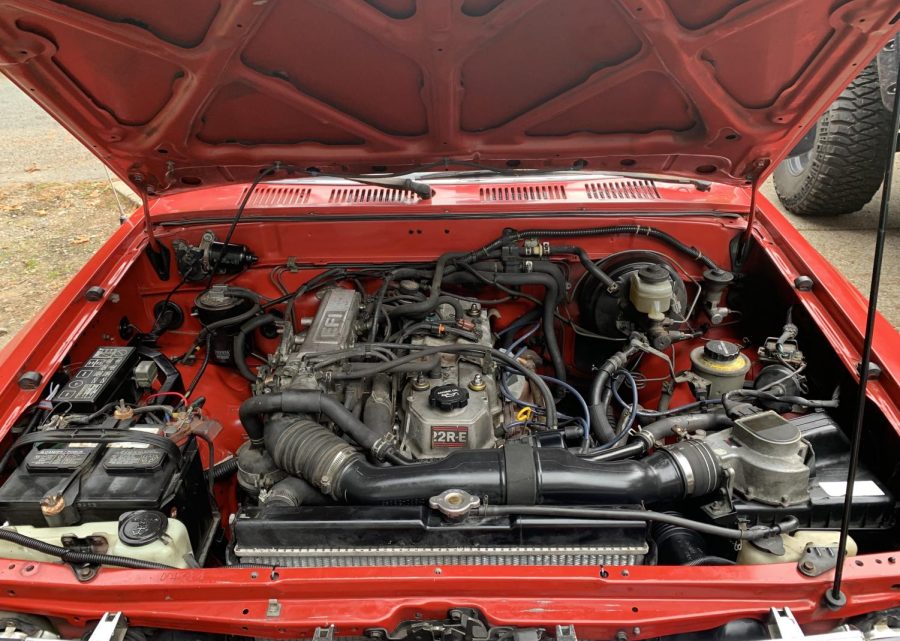
For many car owners, it is common knowledge that engine oil needs to be replaced to prevent engine failure. It can become expensive to bring your vehicle to a lube technician to replace the oil, but if you don’t mind getting your hands dirty you can learn to switch out the oil yourself. This idea can be intimidating for many people, though it isn’t as hard as it may sound, and should only take a first-timer around 30 minutes to do successfully. It is always a good idea to have the owner’s manual handy when determining the filter and oil types for your particular vehicle.
When looking for what type of oil to put into your vehicle it is important to look for the viscosity rating (a measurement of the thickness or “resistance of flow” of a fluid) and also if the oil is conventional or synthetic. Conventional oil is cheaper but won’t last as long ( ≈5,000), while synthetic will last longer ( ≈10,000 miles) but is a little more expensive. To find out exactly what your car will need, be sure to check the owner’s manual. Next is getting the proper oil filter: this can be found in your owner’s manual as well, though the easiest way would be to go into an auto parts store and ask for an oil filter and tell them your exact vehicle and they will make sure to give you a few options of oil filters that will fit your vehicle. You’re also going to need a large container to catch the oil that is removed from your engine and a few wrenches.
After determining if you need to replace your engine’s oil and you have your replacement oil and filter, you may start draining the oil that is in the engine. This is very simple as all you have to do is remove one bolt from the very bottom of your engine, located on the oil pan. Be careful not to remove the wrong bolt as you could drain the wrong fluids and cause failure.
After placing the oil drain pan underneath the bolt, you will need to remove the bolt and the oil will start to flow from the engine. After most of the oil has been removed you may remove the oil filter. If you have any trouble finding the oil filter then you may return to the owner’s manual. The filter will sometimes be loose enough to twist off with just your hands while other times you may need an oil filter tool that can grip the filter and use leverage to make it much easier to remove. Once finished draining all oil from the engine you may put the oil pan bolt back in the engine, and grab your new oil filter. These will need to be pre-lubricated with the new oil before installation. This is done by pouring a little oil inside of the filter then getting a little oil on your finger and covering the silicon gasket with the oil to provide a tight seal on the engine. Then screwing the filter on with your hands until it is as tight as you can make it, without using any tools. Now is the time to pour the engine oil amount that is correct for your engine and confirm it with the dipstick (usually labeled with an oil lamp). If the dipstick read to max then you’re finished. If it reads that you have too much oil, then you may consider removing some of the oil, though it is unlikely that this will damage the engine unless there is much more than the maximum amount of oil. Now your car is able to be driven and you’re finished.